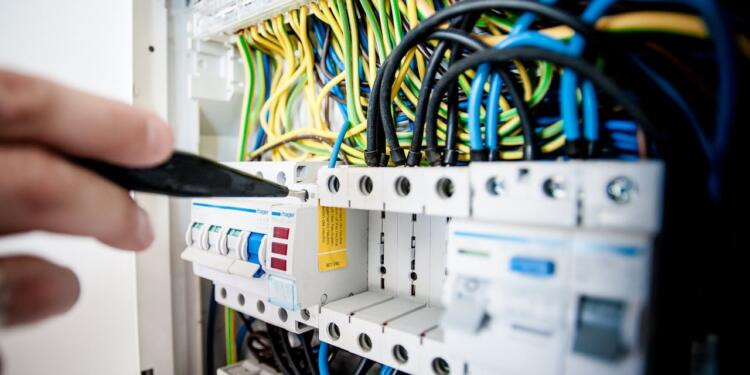
LED lighting systems have become increasingly popular due to their energy efficiency, longevity, and versatility. However, like all electronic devices, they can sometimes malfunction. One of the most common sources of LED lighting problems is the power supply. Diagnosing and resolving power supply issues can save time, money, and frustration. This step-by-step guide will walk you through the process of troubleshooting LED power supply issues safely and effectively.
Step 1: Understand the Basics
Before diving into troubleshooting, it’s important to understand how LED systems operate. An LED light requires a constant and stable DC voltage or current to operate correctly. The LED driver, or power supply, converts AC (alternating current) from the mains into the appropriate DC output. If the power supply fails or behaves erratically, the LEDs may flicker, dim, shut off entirely, or not turn on at all.
Step 2: Safety First
Always begin by turning off the power supply at the source. Working with electrical components can be dangerous. Make sure you’re using insulated tools, wearing safety gloves, and operating in a dry, well-lit area. Never attempt to open or repair a power supply while it is still connected to power.
Step 3: Perform a Visual Inspection
Start by examining the LED driver and the wiring:
- Check for physical damage: Look for signs of burning, melting, swelling, or cracking on the driver casing or wires.
- Inspect connections: Loose or corroded terminals can disrupt the current flow. Ensure all connections are tight and free from rust or dirt.
- Examine the LEDs: If only part of the LED strip buy from LED Strip Lights suppliers or fixture lights up, the issue might be with the LEDs themselves rather than the power supply.
Step 4: Test the Output Voltage
Using a multimeter, check whether the power supply is delivering the correct output voltage. Compare the reading to the rated output printed on the driver label. For example, if the label indicates a 12V output and you measure 0V, the power supply may be faulty.
- If the voltage is too low or absent, the power supply might be dead.
- If the voltage is too high, it could damage the LEDs and is a sign that the internal regulation circuit has failed.
Also, verify that your multimeter is set to measure DC voltage and that your test leads are correctly placed on the output terminals.
Step 5: Check the Input Voltage
If the output voltage is incorrect or missing, verify that the power supply is receiving proper AC voltage. Switch your multimeter to AC mode and measure the voltage at the input terminals.
- A standard US AC supply should read around 110–120V.
- If there’s no voltage at the input, check upstream connections, breakers, or switches.
If the input voltage is correct but there is still no output, the power supply has likely failed internally and will need to be replaced.
Step 6: Look for Overheating or Overload Conditions
LED drivers have protection features like thermal shutdown or overcurrent protection. If the power supply is overloaded (e.g., powering more LEDs than its rated capacity), it may shut down intermittently or permanently.
- Feel the driver: If it is hot to the touch, overheating may be the issue.
- Compare the load: Add up the total wattage of the LEDs and ensure it does not exceed 80–90% of the driver’s rated capacity.
If overloading is suspected, disconnect some of the load and test the driver again.
Step 7: Swap and Test
When possible, replace the suspected faulty power supply with a known working one of the same specifications. If the LEDs function correctly with the new driver, you’ve identified the issue.
Avoid using a mismatched replacement, as incorrect voltage or current ratings can damage your lighting system or pose a fire risk.
Step 8: Consider Environmental Factors
Moisture, dust, and temperature fluctuations can affect the performance of LED drivers. Ensure that your power supply is rated for the environment in which it operates (e.g., IP-rated for outdoor use).
Step 9: Replace If Necessary
If you’ve completed all the steps above and the power supply is still not functioning, it’s best to replace it. Choose a high-quality replacement with the correct voltage, current, and safety certifications (UL, CE, etc.).
Conclusion
Troubleshooting an LED power supply doesn’t require advanced technical knowledge, but it does require attention to detail and safety. In addition, it is also very important to choose a product produced by a reliable LED Power Supply Manufacturer. By systematically checking for visible damage, verifying voltage levels, confirming loads, and testing environmental factors, you can identify and resolve most power-related LED issues. Always opt for quality components and installations to reduce the chance of future problems.
By understanding how your LED system functions and following these troubleshooting steps, you can ensure that your lighting system remains efficient, reliable, and safe.


