
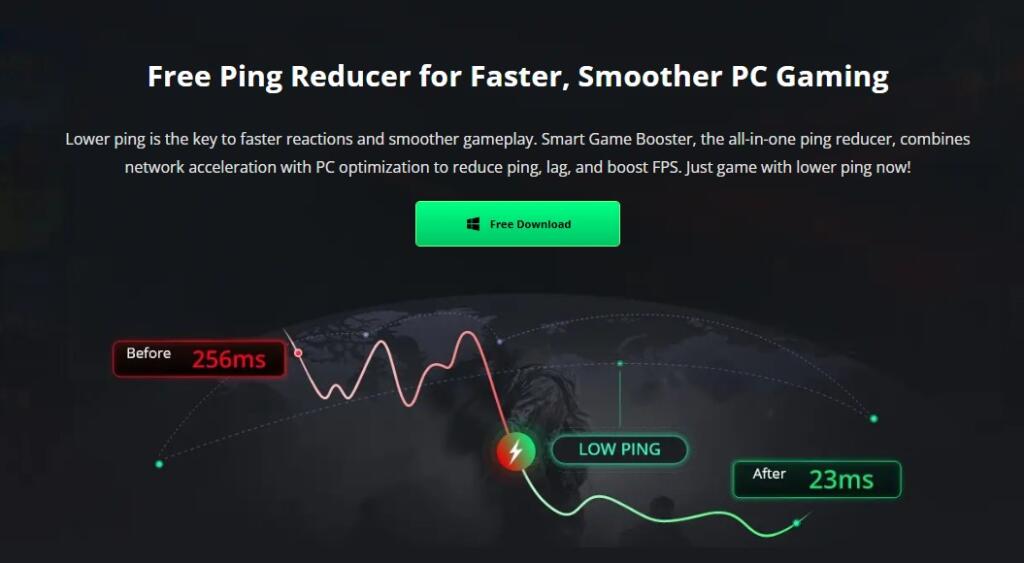
The most frustrating thing about in-game stuttering is that you can’t immediately tell where the problem is coming from. Screen tearing might mean unstable frame rates. Delayed inputs might mean a network issue. And sometimes both happen at once, leaving you unsure which setting to adjust first.
After using Smart Game Booster for a while, my main takeaway is this: it isn’t a magic button that makes games faster with one click. It’s more like a game performance management panel that brings several diagnostic tools together in one place. Below, I’ll walk through what it can actually solve, and what it can’t, based on real usage scenarios.
First, Figure Out What Kind of Stuttering You Have
Before downloading any optimization tool, I always ask myself one question: Is the picture stuttering, or is the input lagging?
- If the visuals themselves aren’t smooth and the frame rate keeps jumping around, the problem is most likely hardware load or graphics settings.
- If the visuals look fine but your character responds half a second late after you press a key, it’s more likely network latency or background programs eating up resources.
Smart Game Booster’s design happens to let you see both types of information in a single interface. Its built-in in-game FPS monitor shows you frame rate changes while you play, and its network acceleration module targets ping. This “diagnose first, then fix” approach is far more effective than blindly closing a bunch of background programs.
The Features I Actually Use
Frame Rate Monitoring: More Reliable Than “It Feels Laggy”
Many people judge how smooth a game feels purely by instinct, but instinct is often inaccurate. I make a habit of turning on the FPS monitor before adjusting graphics settings, so I can confirm what the frame rate actually is and how much it fluctuates.
Smart Game Booster’s FPS display can be overlaid on the game screen without interfering with controls. If I notice the frame rate suddenly drops in a particular scene, I know to adjust the effects related to that scene instead of mindlessly lowering the global graphics quality. A stable 60 FPS usually feels better than an inconsistent 100 FPS, and this is especially noticeable in competitive games.
Network Acceleration: Useful, But Don’t Expect Miracles
Network acceleration is a feature I use with some caution. Its logic is to optimize the data transmission path between your machine and the game server, thereby reducing ping and packet loss.
In practice, the effect is fairly obvious when your local network is fine but the game server is far away. But if the problem is an unstable broadband connection, an aging router, or the game’s official servers undergoing maintenance, there’s only so much software can do. My approach is: first confirm the issue isn’t on my end, then turn on acceleration as a supplementary measure.
Driver Updates and Background Cleanup: Part of Routine Maintenance
These features aren’t flashy, but they’re practical. I’ve had several instances where a game suddenly dropped frames, only to find out the graphics driver hadn’t been updated in ages. Smart Game Booster’s driver check reminds me which drivers have new versions, saving me from checking each manufacturer’s website one by one.
Background program management works the same way. It won’t “overclock” your hardware, but it lets you clearly see which programs are secretly hogging memory and CPU. For players still running mid-range setups, closing unnecessary background programs often delivers more immediate results than any acceleration feature.
Temperature Monitoring: Preventing Problems During Long Sessions
If you regularly game for three or four hours at a time, temperature monitoring is worth paying attention to. An overheated CPU or GPU causes thermal throttling, which shows up as the game gets laggier the longer you play.
Smart Game Booster displays the temperatures of your main hardware components. My habit is: if I notice temperatures running consistently high, I check the case airflow and fan dust buildup first, rather than expecting software to cool things down. Software provides information; actually solving the problem still requires hardware maintenance.
Which Players Will Find It Useful?
Based on my experience, these types of people will get the most out of it:
- People who don’t want to install a bunch of tools: One piece of software covers frame rate monitoring, network acceleration, driver updates, and temperature checks, saving you from switching between multiple programs.
- Mid-range setup owners: Hardware isn’t top-tier, but they want to make their current machine run more consistently by adjusting settings and clearing background processes.
- People who prefer looking at data before acting: Instead of judging by feel, they use FPS Booster, ping, and temperature metrics to pinpoint the cause.
If what you’re after is “one click to double the frame rate in AAA titles,” no optimization software can do that, and Smart Game Booster is no exception.
Download and Installation: Three Steps
I generally only download system tools like this from their official websites to avoid bundled software. Smart Game Booster offers a free download for Windows, and the whole onboarding process is straightforward:
Step 1: Download the Installer
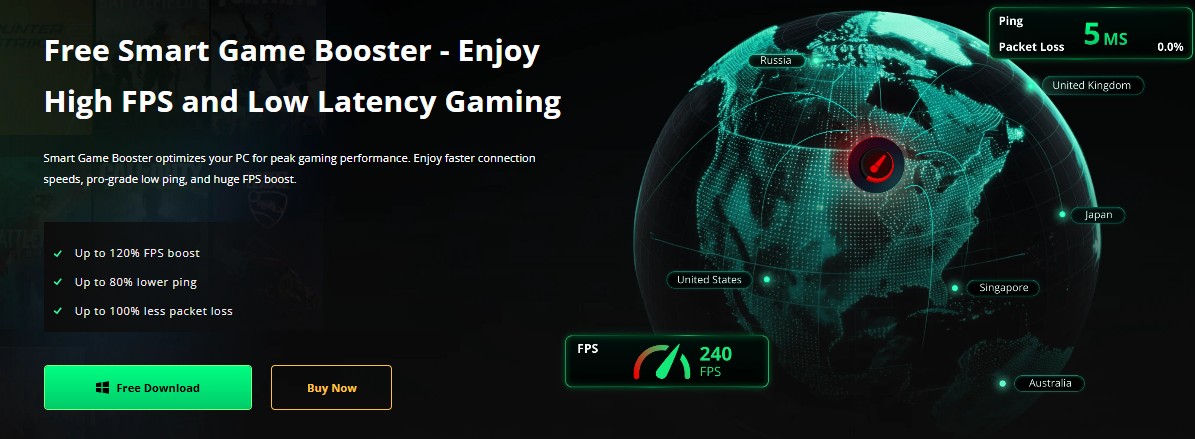

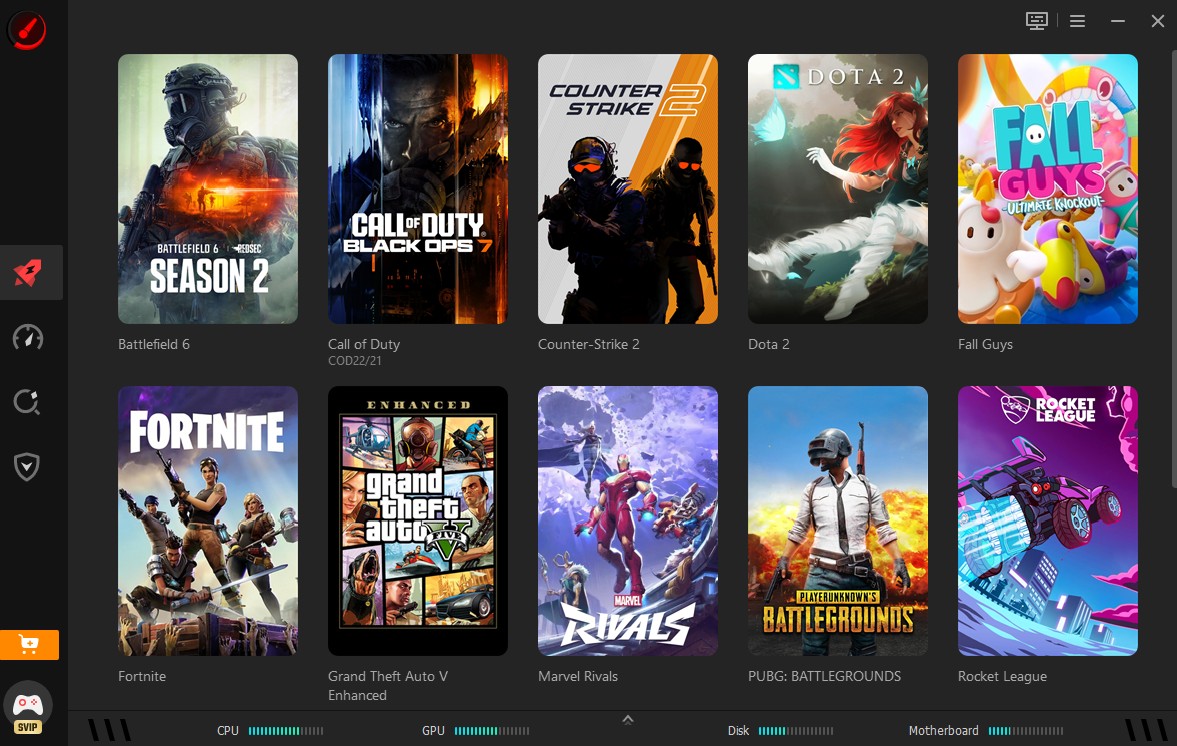
Step 2: Select the Game You Want to Optimize

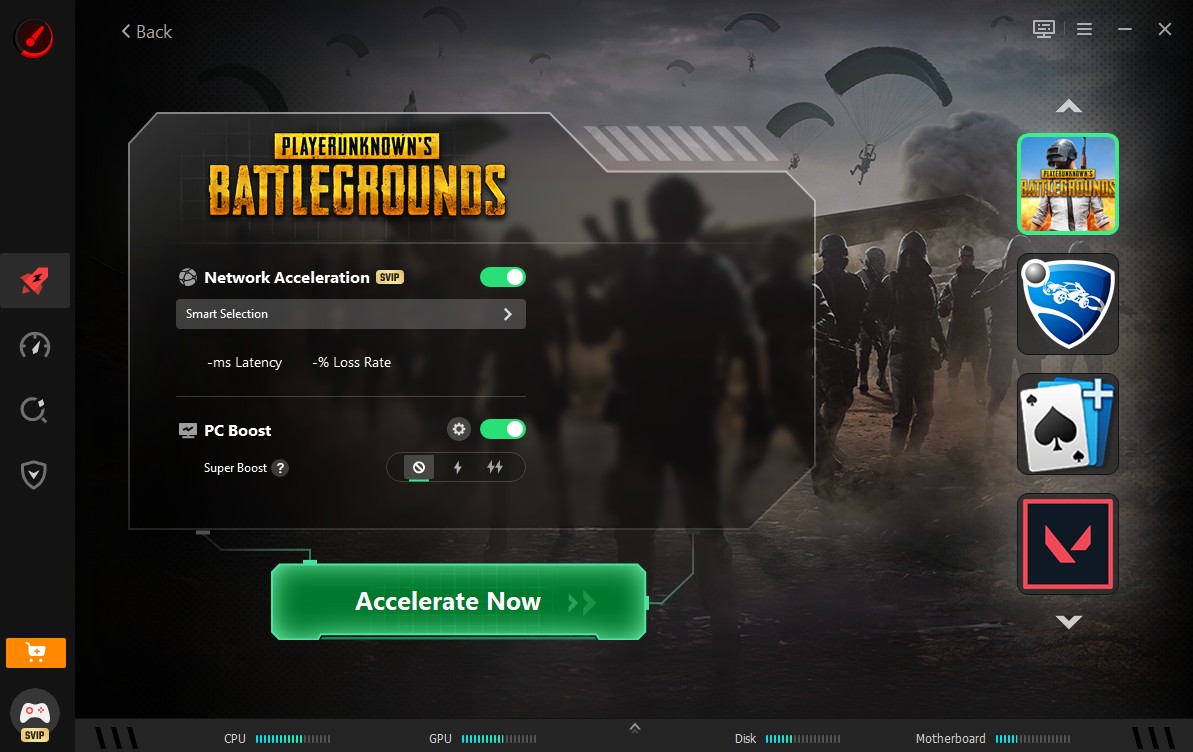
Step 3: Start the Boost and Launch Your Game

The free version already includes core monitoring and optimization features, so you can try it before deciding whether to upgrade.
Final Thoughts
The value of Smart Game Booster isn’t in how impressive the word “boost” sounds. It’s in bringing the key pieces of information needed to diagnose game performance issues together in one place. It helps you figure out where the stuttering is coming from, then offers corresponding ways to address it.
If your problem happens to be too many background programs, outdated drivers, or a suboptimal network path, it can genuinely help. But if the bottleneck is the hardware itself or your internet service provider, it mostly helps you confirm that “the problem isn’t here,” so you can avoid wasting time going down the wrong path.